To add a sub menu in WordPress, go to Appearance > Menus, then drag and drop items under a main menu item. Save your changes to apply.
Creating a sub menu in WordPress enhances site navigation and user experience. It allows visitors to easily find related content under main categories. This hierarchical structure organizes your site better, especially for content-rich websites. Sub menus also improve SEO by structuring internal links logically.
WordPress makes this task simple with its intuitive menu editor. You can easily customize and manage your sub menus without any coding knowledge. By optimizing your site’s navigation, you ensure that visitors stay engaged longer, exploring more of your content. This can lead to increased page views and better overall site performance.
Preparing Your WordPress Site
Adding a sub menu in WordPress enhances site navigation. Simply access the Appearance tab, then Menus. Drag and drop items to create sub menus effortlessly.
Backup Your Site
Always backup your site before making changes. Use a trusted plugin for backups. Store the backup in a secure location. This ensures you can restore your site if needed. Backups protect your data from loss.
Update WordPress And Plugins
Ensure your WordPress version is up to date. Check for updates in the dashboard. Update all installed plugins. This keeps your site secure and functional. Outdated plugins can cause issues. Regular updates improve site performance.
Navigating To The Menu Section
Access the WordPress dashboard and head to the Appearance section. Click on Menus, then add your desired sub-menu items under the main menu. Save changes to display the sub-menu on your site.
Accessing The Dashboard
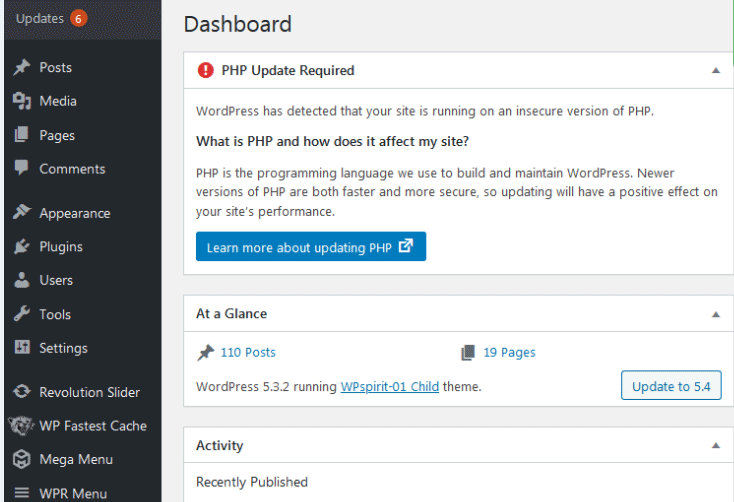
Log in to your WordPress dashboard. Use your username and password. You will see the main menu on the left side. It has many options.
Finding The Appearance Tab
Look for the Appearance tab in the menu. Click on it. A new set of options will appear. Find and click on Menus. This will take you to the menu settings page.
Creating A New Menu
Open your WordPress dashboard. Go to Appearance and then click on Menus. You will see a box to enter a menu name. This name helps you identify the menu later. Make sure the name is clear and simple.
After naming your menu, you need to assign it to a location. Look for the Menu Settings section. There, you will find different location options. Choose the one that fits your needs. Click on the checkbox next to your chosen location.
Adding Main Menu Items
Easily organize your WordPress site by adding sub menu items under main menu categories. Navigate to Appearance, select Menus, and arrange the hierarchy. Boost site navigation and user experience effectively.
Selecting Pages And Posts
Go to your WordPress dashboard. Click on Appearance and then Menus. Here you can see your menu items. On the left side, select Pages or Posts. Choose the ones you want to add. Click Add to Menu. Your selected items will appear on the right.
Adding Custom Links
Sometimes, you need to add links not listed in pages or posts. On the Menus screen, find the Custom Links section. Enter the URL and link text. Click Add to Menu. The link will show up with other menu items.
Adding Sub Menu Items
Open your WordPress dashboard. Go to the Appearance section. Click on Menus. You will see your main menu items. Find the item you want to use as a sub menu. Click and hold the item. Drag the item under the main menu. Slightly move it to the right. Release the mouse button. The item is now a sub menu.
Make sure your menu looks clean. You can drag and drop more items. Arrange them under different main menus. This helps users navigate better. You can also remove items. Click on the small arrow next to the item. Select Remove. Your menu will be updated.
Customizing The Sub Menu
Customizing the sub menu can make your site look unique. You can change the font size, color, and background. Use the WordPress Customizer for basic changes. Try different color schemes to see what looks best.
Custom CSS allows more control over the sub menu. Add your CSS code in the Additional CSS section. You can change padding, margins, and hover effects. Make sure to preview your changes before saving.
Saving And Previewing The Menu
Click the Save Menu button to save your changes. Make sure all your settings are correct. Check your menu items before saving. This will prevent mistakes. Saved menus are safe and ready to use. You can always edit them later.
Go to your website to see the menu. Check if the sub menu looks right. Make sure it works well on all devices. This includes phones and tablets. You can make changes if needed. Previewing helps catch any errors early.
Troubleshooting Common Issues
Sometimes, menu items disappear. This can confuse users. Check the menu settings first. Ensure all items are in the right locations. Verify the menu structure. Look for hidden items. Sometimes, items are not saved properly. Re-save the menu. Check for plugin conflicts. Disable plugins one by one. See if the menu items return. Update all plugins and themes. This can solve many issues.
Sub menus should appear under main items. If they don’t, check the menu settings. Ensure sub items are nested correctly. Verify the theme compatibility. Some themes do not support sub menus. Update or change the theme. Check for JavaScript errors. These can block sub menus. Open the browser console. Look for errors. Fix any issues found.
Frequently Asked Questions
How Do I Add A Sub Menu In WordPress?
To add a sub menu in WordPress, go to Appearance > Menus. Drag a menu item below and slightly to the right of another item. Save the menu.
How Do I Add A Secondary Menu In WordPress?
Go to Appearance > Menus in your WordPress dashboard. Create a new menu and assign it as a secondary menu.
How Do I Create An Admin Menu And Submenu In WordPress?
Go to your WordPress dashboard. Use `add_menu_page` to create an admin menu. Use `add_submenu_page` to add submenus.
How Do I Add Menus In WordPress?
Go to your WordPress dashboard. Navigate to Appearance > Menus. Create a new menu, add items, and save.
Conclusion
Adding a sub menu in WordPress enhances site navigation and user experience. It’s a straightforward process with great benefits. Follow the steps outlined in this guide to create a seamless menu structure. Enjoy a more organized and user-friendly website, making it easier for visitors to find what they need.


