Do you want to create a blog page in WordPress? Elementor makes it easy. This guide will help you step-by-step.

Credit: elementor.com
Why Use Elementor?
Elementor is a popular page builder. It lets you create beautiful pages without coding. It’s easy to use. Even beginners can create stunning blogs.

Credit: cyberchimps.com
Getting Started with WordPress
First, you need a WordPress site. If you don’t have one, follow these steps:
- Choose a hosting provider.
- Install WordPress.
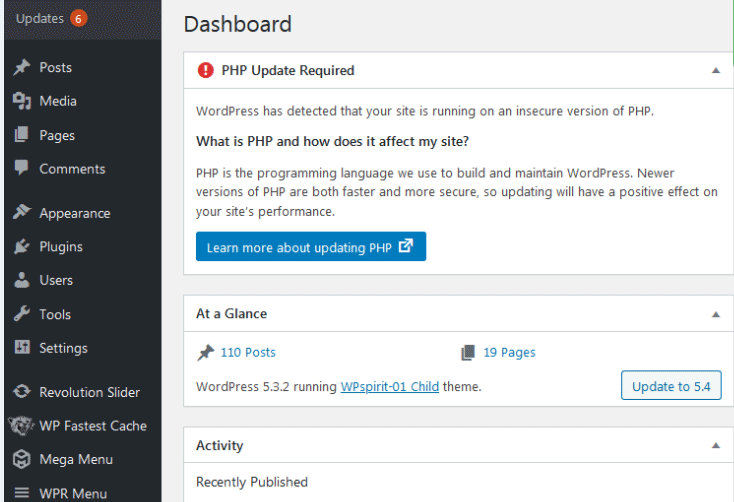
- Log in to your WordPress dashboard.
Install Elementor
Next, you need to install Elementor. Follow these steps:
- Go to your WordPress dashboard.
- Click on Plugins.
- Click on Add New.
- Search for Elementor.
- Click Install Now.
- Click Activate.
Create a New Page
Now, let’s create a new page for your blog.
- Go to your WordPress dashboard.
- Click on Pages.
- Click on Add New.
- Give your page a title, like Blog.
- Click on Edit with Elementor.
Design Your Blog Page
Now, you can start designing your blog page with Elementor.
Add A Section
First, add a section for your blog posts.
- Click on the + icon.
- Choose a structure for your section. A single column is a good start.
Add A Heading
Next, add a heading for your blog page.
- Click on the Widgets icon.
- Drag the Heading widget to your section.
- Type Blog in the heading text.
- Style your heading using the options on the left.
Add A Blog Posts Widget
Now, add a widget to display your blog posts.
- Click on the Widgets icon.
- Drag the Posts widget to your section.
- Customize the widget using the options on the left.
| Setting | Option |
|---|---|
| Layout | Choose Grid or List |
| Columns | Select the number of columns |
| Posts Per Page | Set the number of posts to display |
Customize Your Blog Page
Now, customize your blog page to match your style.
Change Background Color
- Click on the section settings icon.
- Go to the Style tab.
- Choose a background color.
Add Padding and Margin
- Click on the section settings icon.
- Go to the Advanced tab.
- Adjust the padding and margin values.
Typography
Customize the font, size, and color of your text.
- Click on the widget settings icon.
- Go to the Style tab.
- Customize the typography settings.
Preview and Publish
Once you’re happy with your design, preview your blog page.
- Click on the eye icon at the bottom left.
- Check how your page looks on different devices.
- Make any necessary adjustments.
When everything looks good, publish your page.
- Click on the Publish button at the bottom.
- Confirm by clicking Publish again.
Set Your Blog Page as the Homepage
If you want your blog page to be the homepage, follow these steps:
- Go to your WordPress dashboard.
- Click on Settings.
- Click on Reading.
- Under Your homepage displays, select A static page.
- Choose your blog page from the dropdown menu.
- Click Save Changes.
Frequently Asked Questions
What Is Elementor In WordPress?
Elementor is a drag-and-drop page builder for WordPress. It allows creating custom layouts without coding.
How To Install Elementor In WordPress?
Go to Plugins > Add New. Search for Elementor, then click Install and Activate.
Can I Create A Blog With Elementor?
Yes, Elementor provides tools to design and customize blog pages easily.
Is Elementor Free To Use?
Elementor has a free version with basic features. A Pro version offers advanced functionalities.
Conclusion
Creating a blog page in WordPress with Elementor is easy. Follow these steps, and you’ll have a beautiful blog in no time. Happy blogging!


