To edit the footer in WordPress Elementor, navigate to Templates > Theme Builder. Click on Footer and choose “Edit with Elementor.”
Editing the footer in WordPress Elementor is a straightforward process. It allows you to customize the footer area of your website easily. Using Elementor’s drag-and-drop interface, you can add widgets, text, images, and other elements. This customization helps in enhancing the overall look and feel of your website.
A well-designed footer can improve user experience and provide essential information. Make sure to save your changes and preview the footer to ensure it meets your design and functionality requirements. This flexibility makes Elementor a popular choice for WordPress users looking to create professional websites.
Accessing Elementor
Accessing Elementor allows you to easily edit the footer in WordPress. Simply navigate to the footer section and customize it using Elementor’s intuitive drag-and-drop interface. Make your website’s footer stand out with unique design elements and personalized content.
Logging Into WordPress
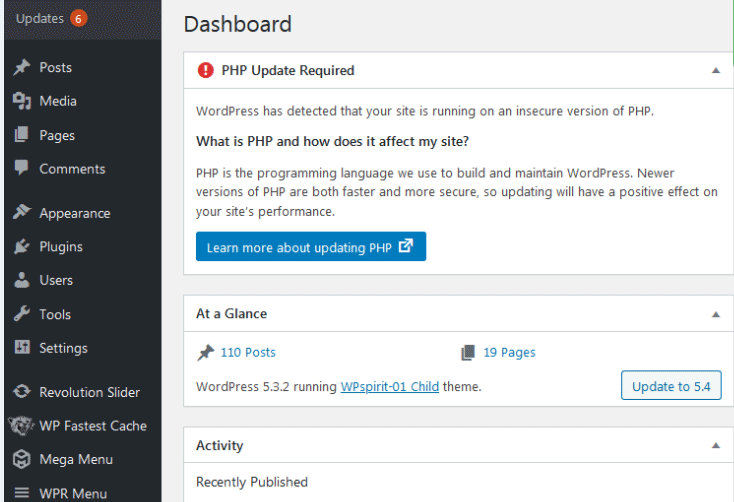
First, open your web browser. Type your website’s URL, followed by “/wp-admin”. Enter your username and password. Click the “Log In” button. Now, you are inside the WordPress dashboard.
Navigating To Elementor
Look at the left-hand menu. Find and click on “Templates”. A dropdown menu will appear. Select “Theme Builder”. In the Theme Builder, find the footer section. Click “Edit with Elementor”. The Elementor editor will open. Now, you can edit your footer.
Finding The Footer Section
Start by logging into your WordPress dashboard. On the left side, find the Appearance menu. Click on Widgets. Scroll down to see the Footer area. Here, you can see different widgets. These widgets control what appears in the footer. Drag and drop widgets to edit them.
Open the Elementor editor. Look for the Templates menu on the left side. Click on Saved Templates. Check for any saved Footer Templates. You might see a list of templates. Choose the one labeled Footer. Edit it to change the footer layout.
Editing Footer Content
Open the Elementor editor. Select the footer section. Click on the text you want to change. Edit the text in the text editor. Click the update button to save changes. To change links, click on the link text. Edit the URL in the link settings. Make sure to save your changes.
Select the footer section in the Elementor editor. Drag and drop the social icons widget. Add your social media profiles. Customize the icon style and size. Align them to your preference. Click update to save your changes.
Customizing Footer Design
Edit the footer in WordPress Elementor by navigating to the Theme Builder section. Customize design elements easily with drag-and-drop functionality. Enhance your site’s appearance and functionality effortlessly.
Adjusting Colors And Fonts
Open the Elementor editor. Click on the footer section. Look for the style tab. Change the colors and fonts here. Choose a color that matches your theme. Pick fonts that are easy to read. Save your changes. Check your website to see the new look. Make sure it looks good on mobile too.
Setting Background Images
Go to the Elementor editor. Select the footer section. Find the style tab. Click on the background option. Choose an image from your library. Upload a new one if needed. Adjust the size and position of the image. Make sure the image is not too busy. Save your changes. Preview your website. Ensure the image looks good on all devices.
Adding Widgets And Elements
First, open the Elementor editor. Locate the Widgets panel on the left side. Drag the Contact Form widget to your footer area. Customize the form fields as needed. Ensure you include an email field. Click the Save button to apply changes.
To include recent posts, drag the Recent Posts widget to your footer. You can specify the number of posts to display. Use the Style tab to adjust fonts and colors. Save your changes by clicking the Save button.
Saving And Previewing Changes
Easily save and preview changes while editing the footer in WordPress Elementor. Ensure your updates look perfect before publishing.
Saving Your Edits
Click the Save button at the bottom. Your changes will be stored. Make sure to save often. This helps you not to lose work. Saving takes just a second. It’s very important.
Previewing The Footer
Use the Preview button to see changes. This shows the live view of your footer. It helps to check for mistakes. You can find the button near the save option. Click it after making edits.
Troubleshooting Common Issues
Sometimes, the footer does not show correctly. Clear the cache to fix this. Navigate to the Elementor settings. Click on the “Tools” tab. Select the “Regenerate CSS” button. This refreshes the styles. If the problem persists, check your theme settings. Ensure the footer is enabled. Look for any custom CSS. Remove any conflicting code. This can resolve display issues. Make sure to update and save changes.
Footer alignment issues are common. Open the footer in Elementor. Check the section settings. Ensure the alignment is set to “center”. Use the “padding” and “margin” options. Adjust these to align the content. If columns are misaligned, check their settings. Each column should have equal width. Use the “flex” option for better control. Preview changes before saving. This ensures the footer looks good on all devices.
Final Tips
Keep the footer simple and easy to navigate. Use clear headings and organize links logically. Ensure that important information like contact details and social media links are easy to find. Limit the number of links to avoid clutter. Use a consistent design that matches the rest of your website. Make sure the footer is responsive and looks good on all devices. Avoid using too many colors or fonts.
Regularly update the footer with current information. Remove any outdated links or information. Check links to ensure they are working properly. Update copyright dates each year. Add new social media links if your business joins new platforms. Make sure contact details are always current. Keep an eye on the design and update if necessary to match new branding.
Frequently Asked Questions
How To Edit Footer In WordPress Elementor Free?
To edit the footer in WordPress Elementor Free, use the theme customizer. Navigate to Appearance > Customize > Footer. Adjust settings as needed.
Why Can’t I Edit The Footer In Elementor?
You can’t edit the footer in Elementor because it’s controlled by your WordPress theme. Use your theme’s settings or a custom footer plugin.
How Do I Edit An Existing Footer In WordPress?
Go to your WordPress dashboard. Navigate to Appearance > Customize. Select Footer, then make your desired changes. Save and publish.
How Do I Edit The Bottom Of A Page In Elementor?
To edit the bottom of a page in Elementor, open the page, scroll down, and click the section you want to edit. Use Elementor’s tools to make changes, then save.
Conclusion
Editing the footer in WordPress Elementor is simple and effective. Follow these steps to customize your footer easily. Enhance your site’s appearance and improve user experience. Keep your footer updated to reflect your brand. Regular adjustments can make a big difference.
Enjoy a more personalized website today!


