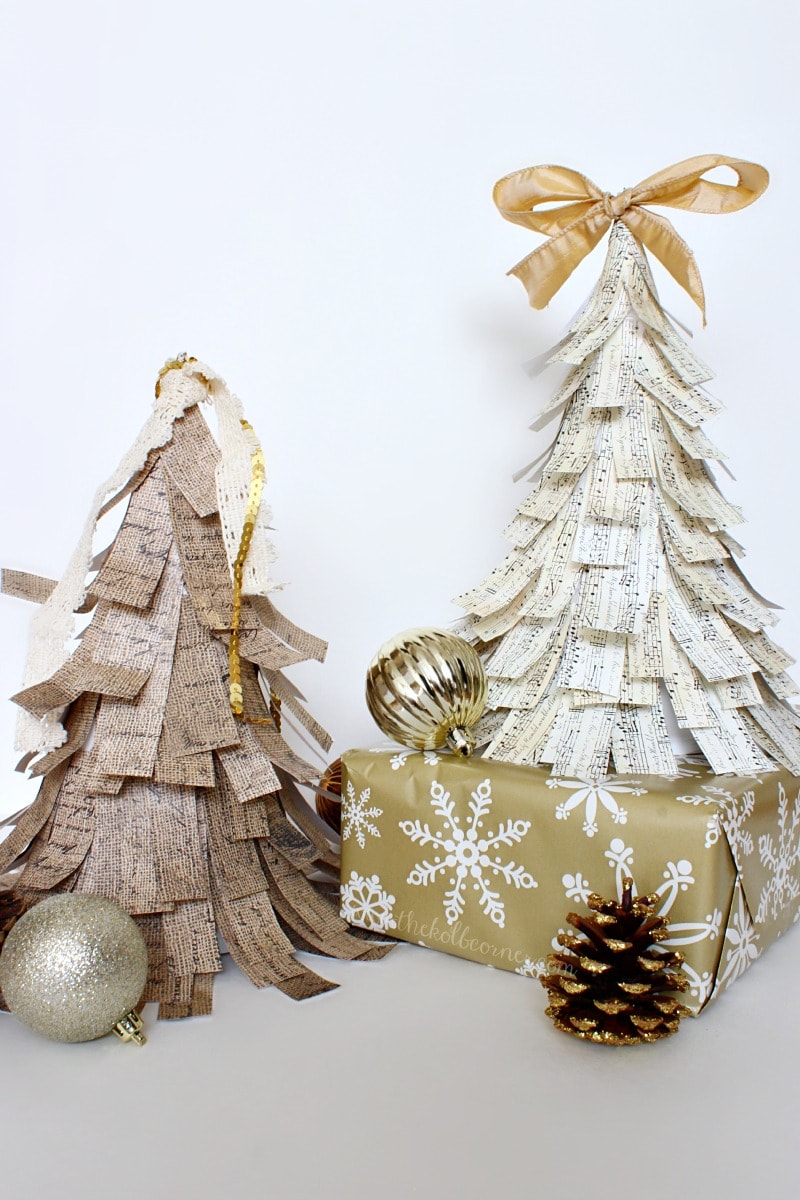
Scrapbook paper trees are simple, creative, and fun to make. These trees add a festive touch to any project.
Scrapbook paper trees offer a delightful way to enhance your crafts. They are perfect for holiday decorations, greeting cards, or DIY home decor. Crafting these trees is an enjoyable activity for both kids and adults, making it a fantastic family project.
You can use various scrapbook paper patterns and colors to match any theme or season. The process is straightforward, requiring just a few basic supplies like scissors, glue, and paper. This craft is not only affordable but also allows for endless creativity. Create beautiful, personalized decorations that reflect your unique style with scrapbook paper trees.
Materials Needed
Gather colorful scrapbook paper, scissors, glue, and a pencil to create stunning paper trees for your scrapbook. These simple materials transform your project into a vibrant masterpiece.
Essential Supplies
You will need scrapbook paper in various colors and patterns. Gather scissors for cutting the paper. Use glue or double-sided tape to stick the pieces together. Pencil and ruler are also important for measuring and drawing shapes.
Optional Add-ons
Consider using glitter to add some sparkle. Buttons can be used as ornaments. Stickers are great for extra decoration. You might also want some ribbons to tie around the trees. Markers can help add details and designs.
Choosing The Right Paper
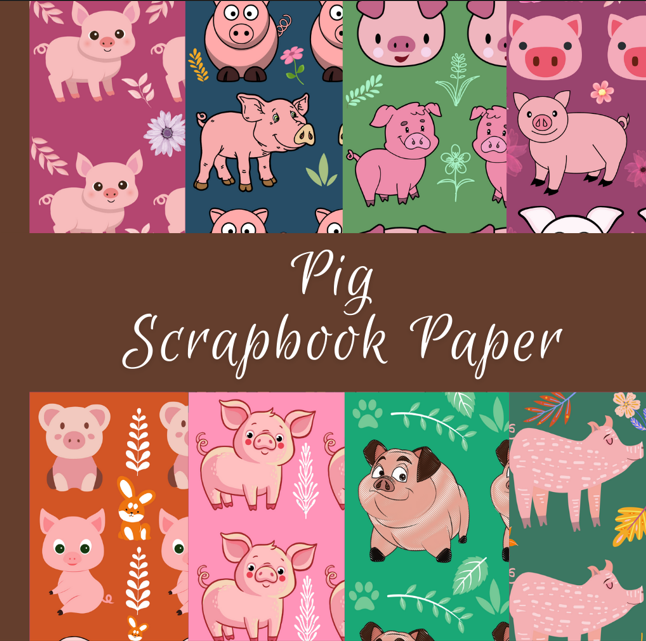
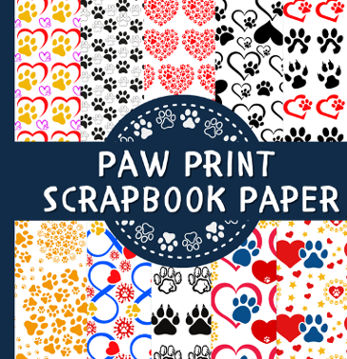
Scrapbook paper comes in many different types. Cardstock is thick and sturdy. Patterned paper has designs and is good for backgrounds. Vellum paper is see-through and adds a delicate touch. Specialty paper like glitter or metallic gives a shiny look. Each type of paper can make your tree unique.
Choose colors that match the season or theme. Green and brown are great for a natural look. Red and gold work well for holiday trees. Patterns like stripes, dots, and plaids can add fun elements. Mixing solid colors with patterns creates interesting effects. Always use colors and patterns that make you happy.
Basic Tree Shapes
Make a cone shape with scrapbook paper. Roll the paper into a cone. Secure it with glue or tape. Trim the bottom so it stands flat. Decorate the cone with stickers or glitter. This is a simple tree shape.
Cut different sizes of circles from scrapbook paper. Stack the circles from largest to smallest. Use a glue stick to attach them. Add a star on top. Layered trees look pretty and are easy to make. Use colorful paper for more fun.

Credit: domesticallycreative.com
Decorating Techniques
Use different types of scrapbook paper to add texture. Choose papers with raised patterns or glittery surfaces. Cut the paper into small pieces and layer them. This gives a three-dimensional look to your trees. Add some fabric scraps for more texture. Felt and burlap work well. Glue them onto the trees for an interesting effect. Mix and match different textures for a unique design.
Use other materials like buttons and ribbons. Stick buttons on the trees for a colorful touch. Wrap ribbons around the tree trunks. Add beads and sequins for extra sparkle. Use small feathers to give a soft look. You can also add tiny pom-poms for fun. Experiment with different materials to make your trees special.
Seasonal Themes
Use blue and white papers for a snowy look. Add glitter for extra sparkle. Create snowflakes and icicles from silver foil. Decorate with tiny snowmen and pine cones. Make miniature snow-covered trees. Use cotton balls for snow. Layer different shades of blue for depth. Try adding small stars for a magical night sky. Your scrapbook will look like a winter dream.
Choose bright and pastel colors. Pink, yellow, and green work well. Add flower stickers and butterfly cutouts. Use ribbon for a fresh look. Add tiny birds and bees. Cut out leaves and vines. Use patterned paper for variety. Layer flowers for a 3D effect. Your scrapbook will be full of spring cheer.

Credit: www.pinterest.com
Personalized Touches
Use custom ornaments to make your scrapbook paper trees unique. Choose ornaments that match your style. You can create your own using simple craft supplies. Paint or glitter can add a special touch. Try adding small beads or buttons for decoration. Custom ornaments make your tree one-of-a-kind.
Family photos make your scrapbook paper trees more special. Use small photo prints to decorate the tree. Photos of family members can add a personal touch. Glue the photos onto the tree branches. This creates a tree full of memories. You can change the photos each year for a fresh look. Cherished moments will be displayed on your paper tree.
Display Ideas
Create charming scrapbook paper trees to add a festive touch to your holiday displays. These colorful and easy-to-make decorations enhance any space with a whimsical, handcrafted feel.
Mantle Arrangements
Place scrapbook paper trees on your mantle. Use different sizes and colors for a fun look. Add some fairy lights for a magical touch. Make sure to space them out evenly. Place smaller trees in front and larger ones in the back. Add a few pinecones for a festive feel. You can also use candles to create a cozy vibe.
Table Centerpieces
Scrapbook paper trees make great table centerpieces. Use a mix of colors that match your theme. Place the trees in the center of the table. Surround them with small ornaments or baubles. Add a few sprigs of greenery for a natural look. You can also use a decorative tray to group the trees together. This makes it easy to move the centerpiece if needed.

Credit: www.pinterest.com
Tips For Long-lasting Trees
Store your scrapbook paper trees in a dry and cool place. Make sure to keep them away from direct sunlight. Use airtight containers to avoid moisture. Place silica gel packets inside the containers to absorb any moisture. Keep the trees flat to prevent bending or creasing. Label the containers for easy access later.
Handle your trees with clean hands to avoid stains. Dust them regularly using a soft brush. Repair any damage with acid-free glue. Keep them away from pets and small children. Rotate the display trees to prevent wear. Use archival quality materials for any repairs. This helps the trees last longer.
Frequently Asked Questions
What Materials Are Needed For Scrapbook Paper Trees?
To create scrapbook paper trees, you’ll need scrapbook paper, scissors, glue, and a pencil. Optional items include glitter and stickers for decoration.
How Do You Make Scrapbook Paper Trees?
Cut scrapbook paper into tree shapes, then glue the pieces together. Add decorations like glitter and stickers to personalize.
Can Kids Make Scrapbook Paper Trees?
Yes, kids can easily make scrapbook paper trees. It’s a fun, simple craft that encourages creativity and fine motor skills.
Where Can I Find Scrapbook Paper?
You can find scrapbook paper at craft stores, online shops, and sometimes in the stationery section of big retail stores.
Conclusion
Creating scrapbook paper trees is a fun and simple craft. It’s perfect for all ages and skill levels. These trees add a unique touch to your scrapbooks or home decor. Gather your supplies and let your creativity flow. Happy crafting with your beautiful scrapbook paper trees!


